Building your story
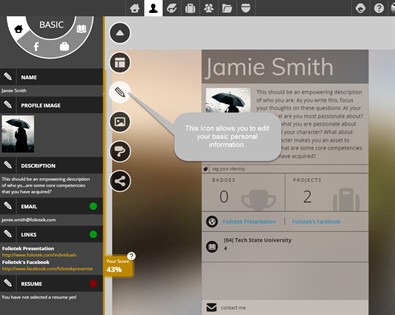
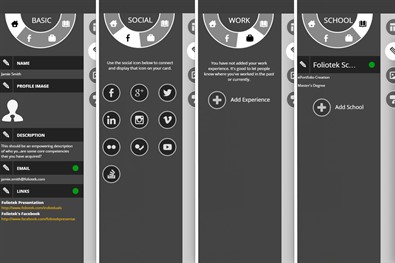
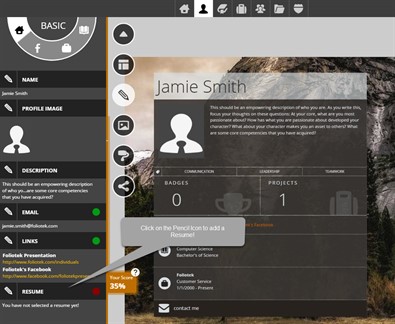
Once you've decided on the layout of your Identity Page, now it's time to build your story. Click on the editing tools slider to open up the options. The Pencil icon gives you the opportunity to enter basic information, connect your Identity page to your social networking accounts, add your work history, add a Resume, and enter your educational background.
Basic Information
The basic information consists of your name, profile image, description for your page, your email address, and links to websites or videos. By clicking the Pencil icon for each section, you can edit and add information pertaining to that section.
Social Networks
Here you can link your Facebook, Google+, Twitter, LinkedIn,
Instagram, Vimeo, Yahoo, Foursquare, YouTube, and Stack Exchange
accounts to your Identity Page. Click on the icon for the network
you want to connect to, enter your login information for that site,
and agree to give the site access. Now, your Identity page will be
the gateway to that social network for anyone viewing your Identity
Page. All they have to do is click on the icon for the social
networking site they wish to visit and they can view that
networking page.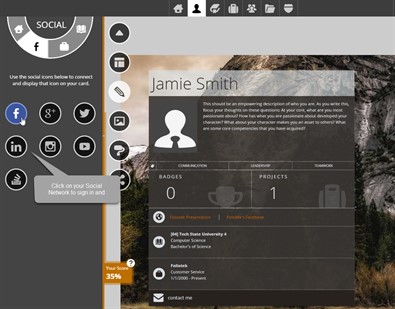
Work History
The Work History section allows you to provide information about
your employment experience. You can enter as many items as you
like. For each one you are asked to provide the name of the
company, the position you held, and the dates you were there. This
is a great way to give the viewer an idea of the various skills you
have acquired over the years.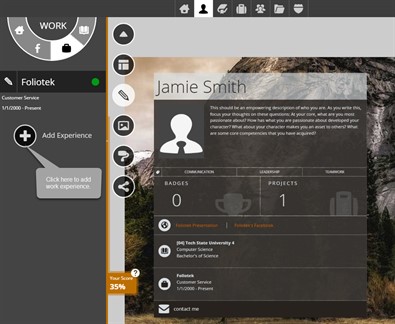
Educational Background
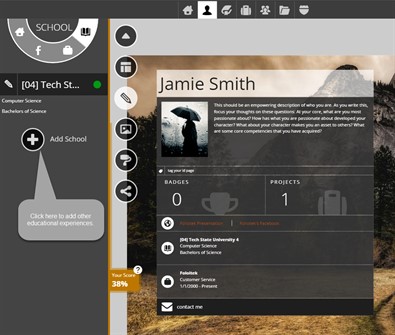
The Schools area lets you proudly tell the viewer about your education. You can enter the name of any schools you attended, the field(s) you were studying, and the degree you received or the one you are working on, if you are still in school.
Resume
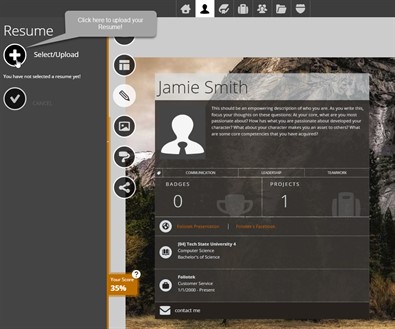
You can use the Resume section to upload a copy of your Resume. Click on the Pencil icon next to Resume.
Then choose
Select/Upload to add your Resume. Click the
Checkmark to save.