Adding Files in Projects
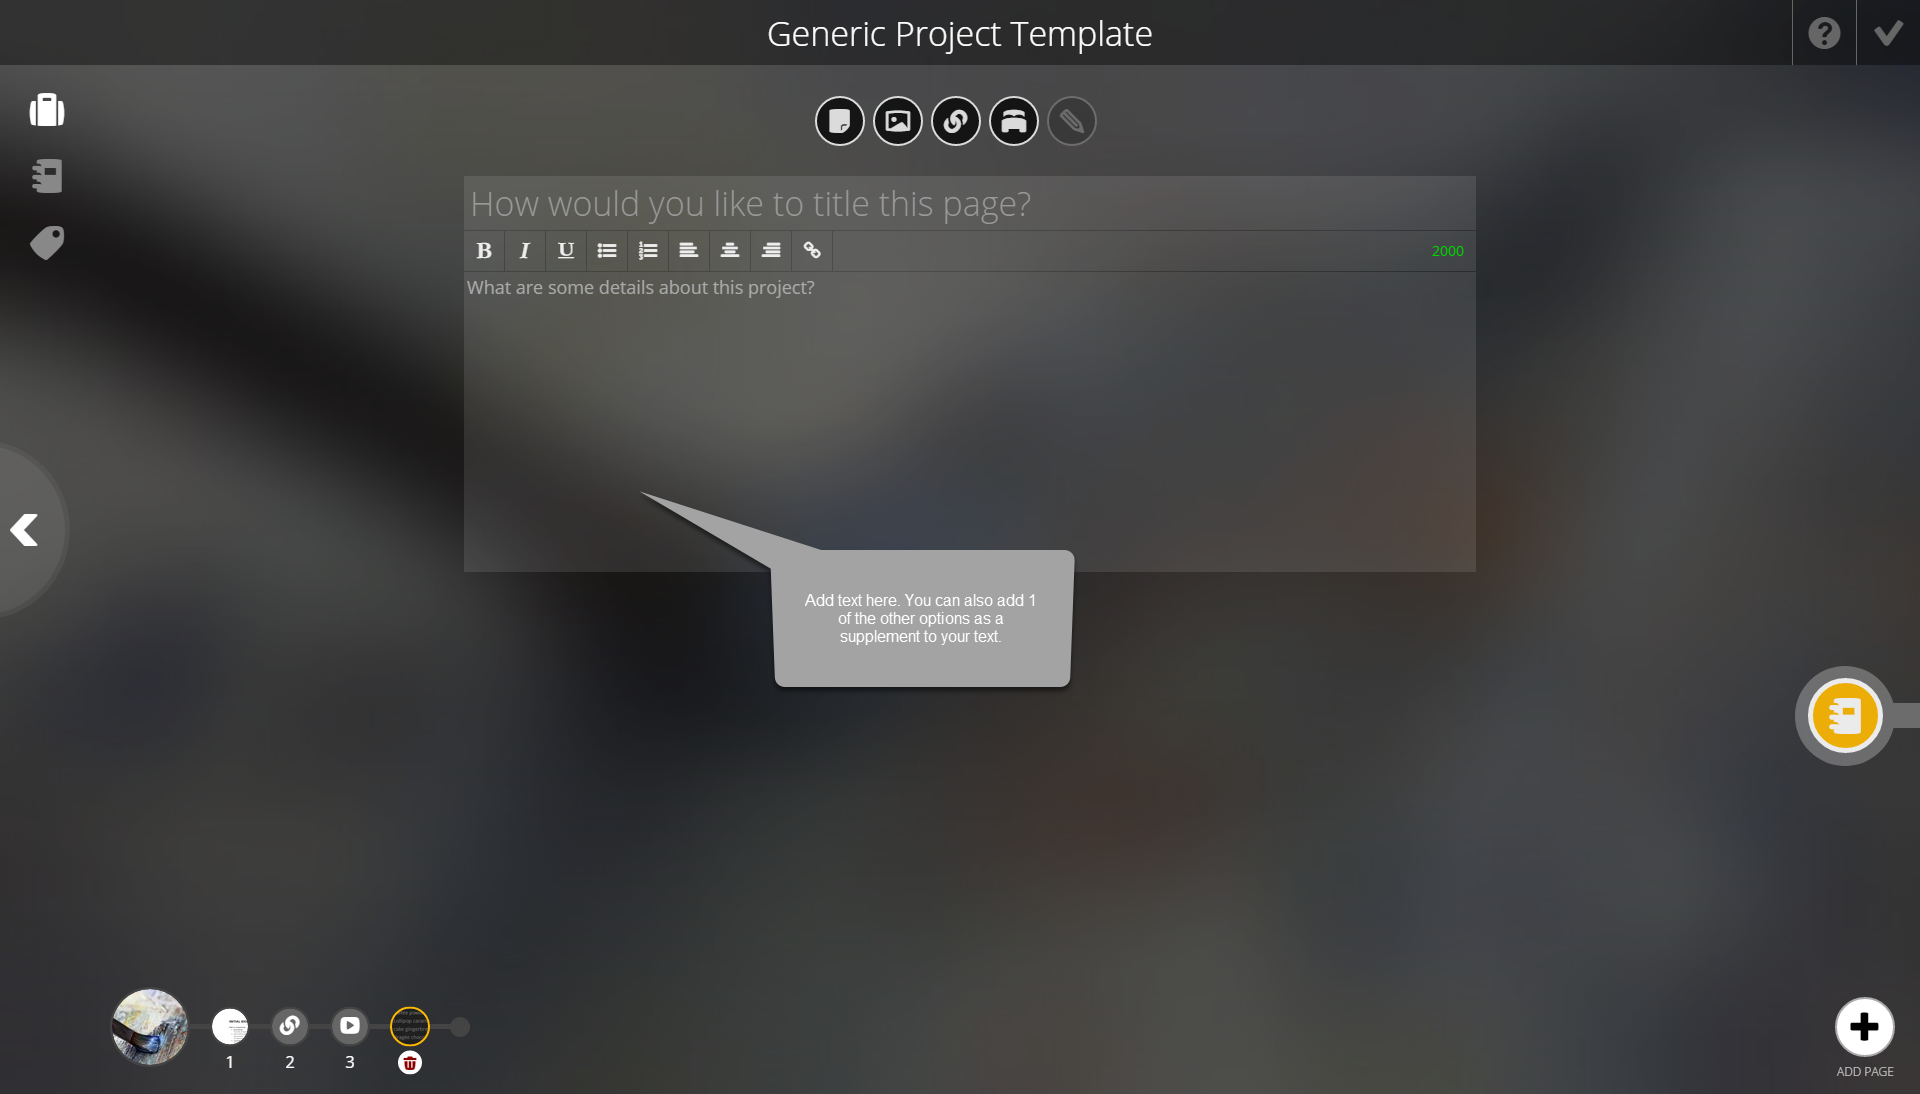
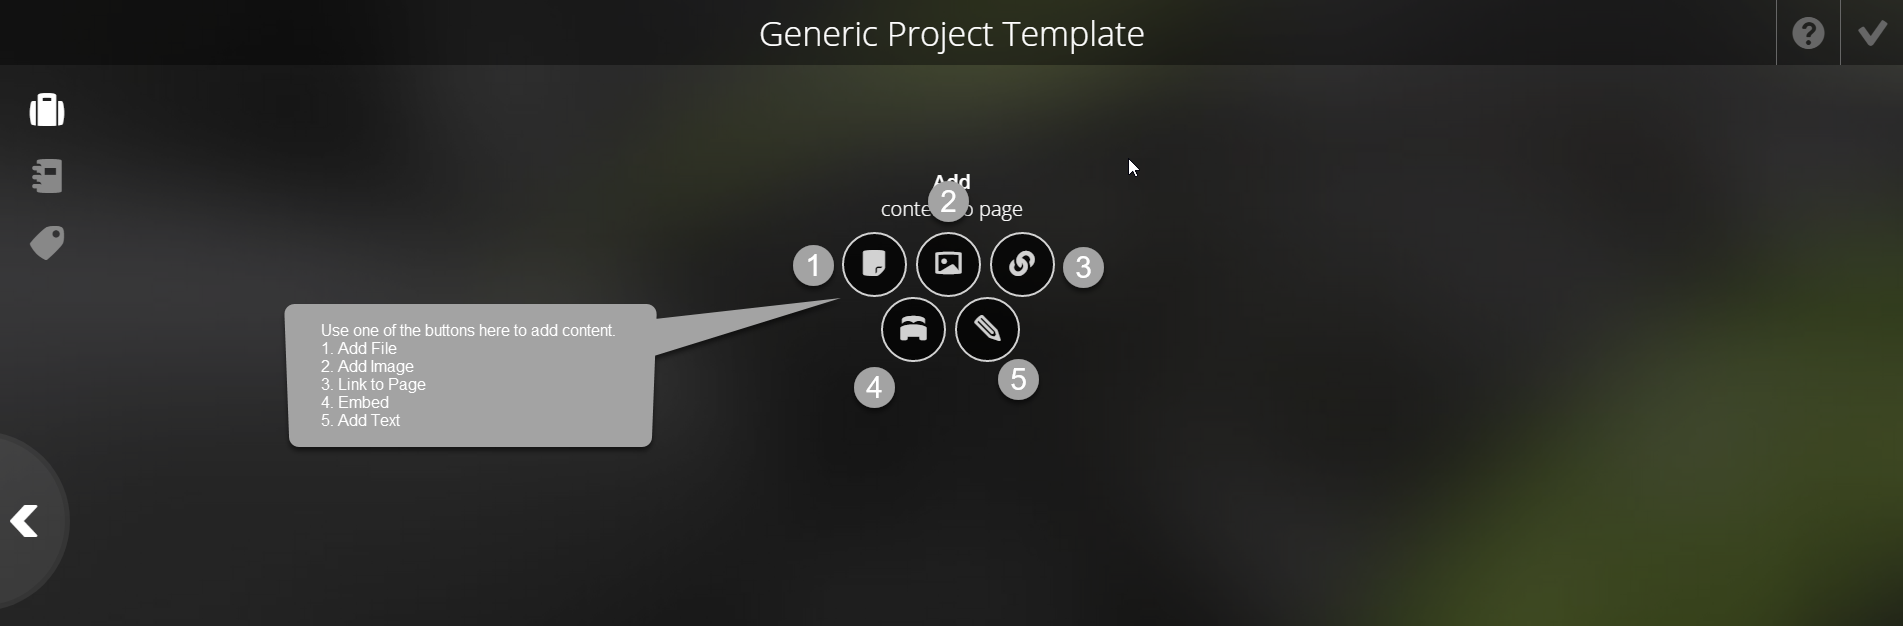
You can add files, images, links, embed code, and text to each page of your Project. You can choose one file, image, link, or embedded code per page, and then add supporting text to the page. To add content to a new project page, click on the appropriate icon. In order, you have buttons for adding Files, Images, Links, Embed Codes, and Text.
 Adding Files
Clicking on the Add Files button will bring out a sidebar on the left. Here you will have the options to select any files you have already uploaded to your account, upload new files, and add files from Google Drive. You can add images here, or using the Add Images icon.
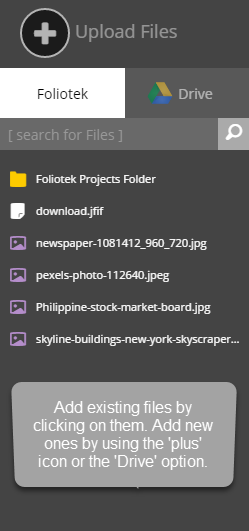
Once you select or upload a file, it will display on your page. Most common file types will offer an online viewable version. This includes, but is not limited to, Word Documents, Excel Spreadsheets, PDFs, Power Points, common image file types, and common video file types. Any files that will not display online will offer a downloadable link. In this example, we used a Word document.
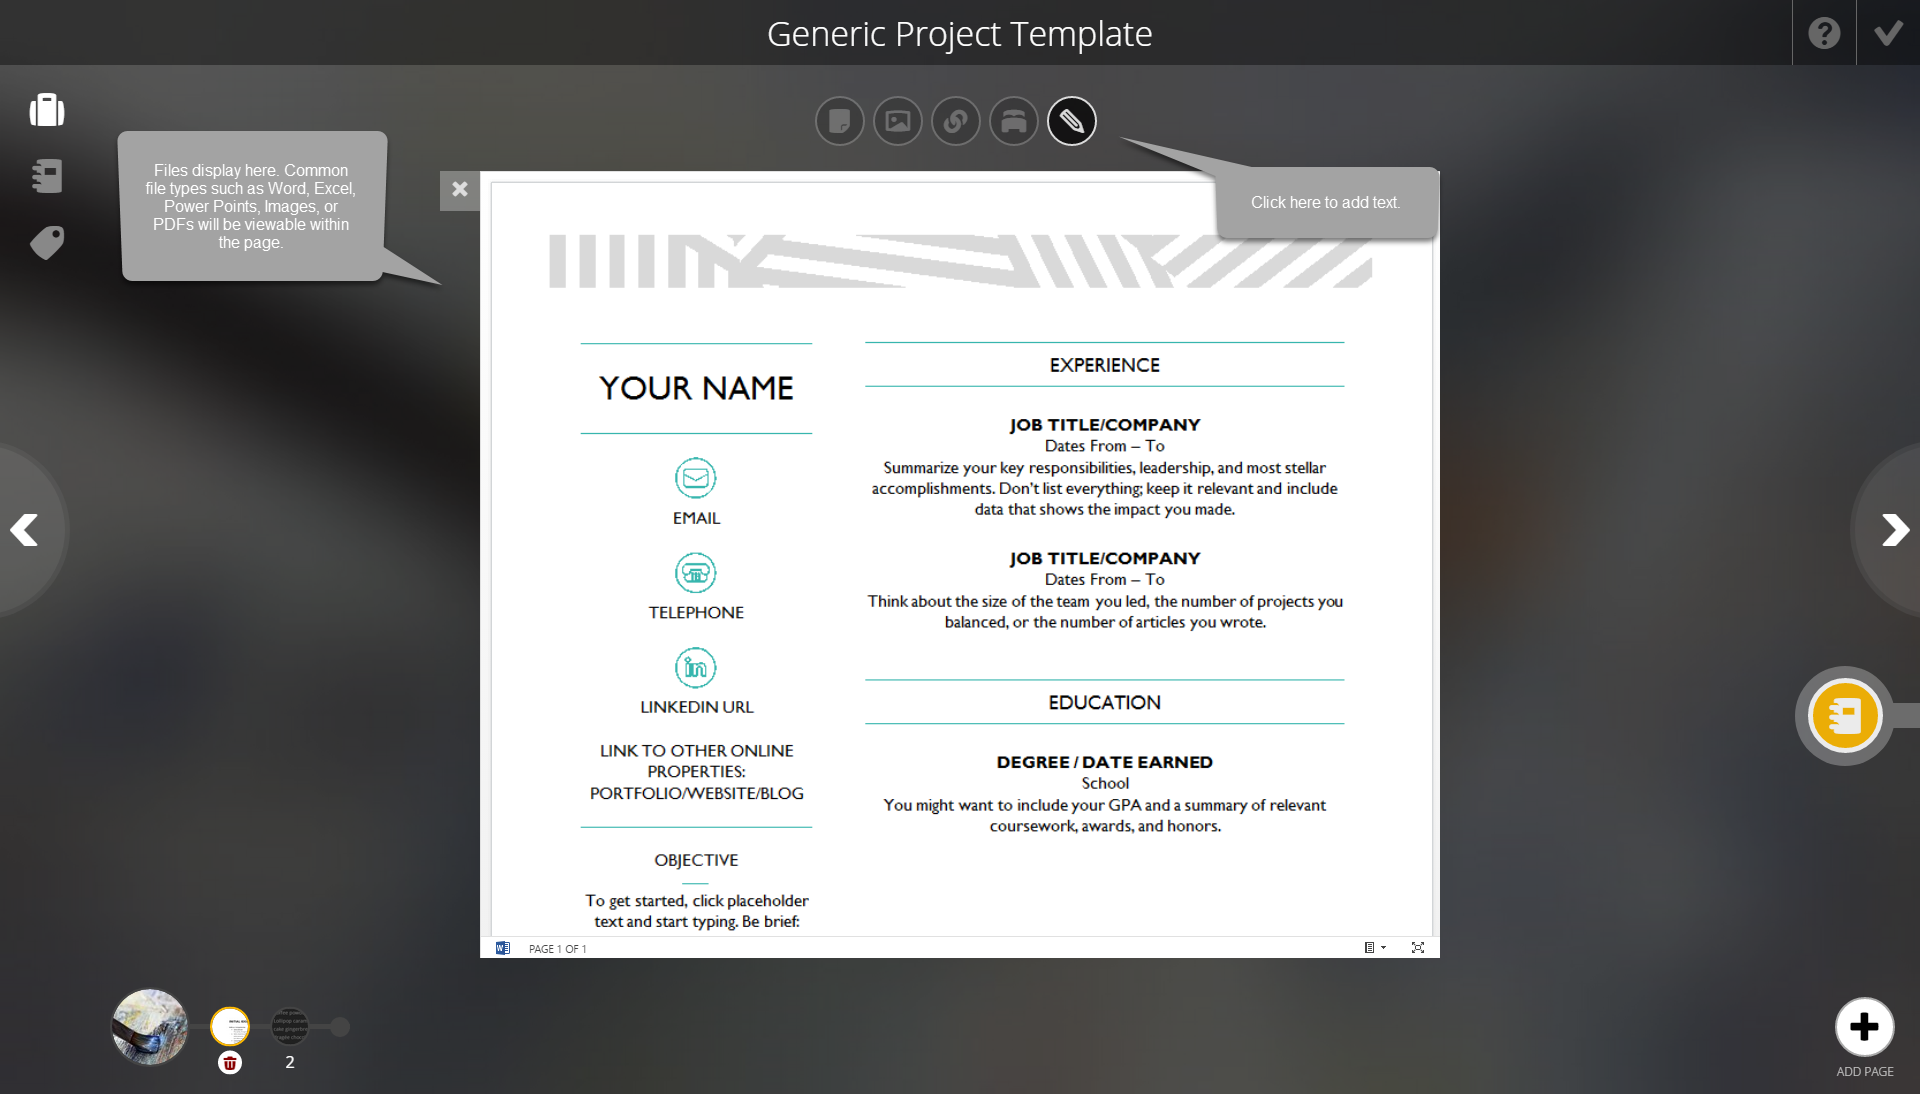
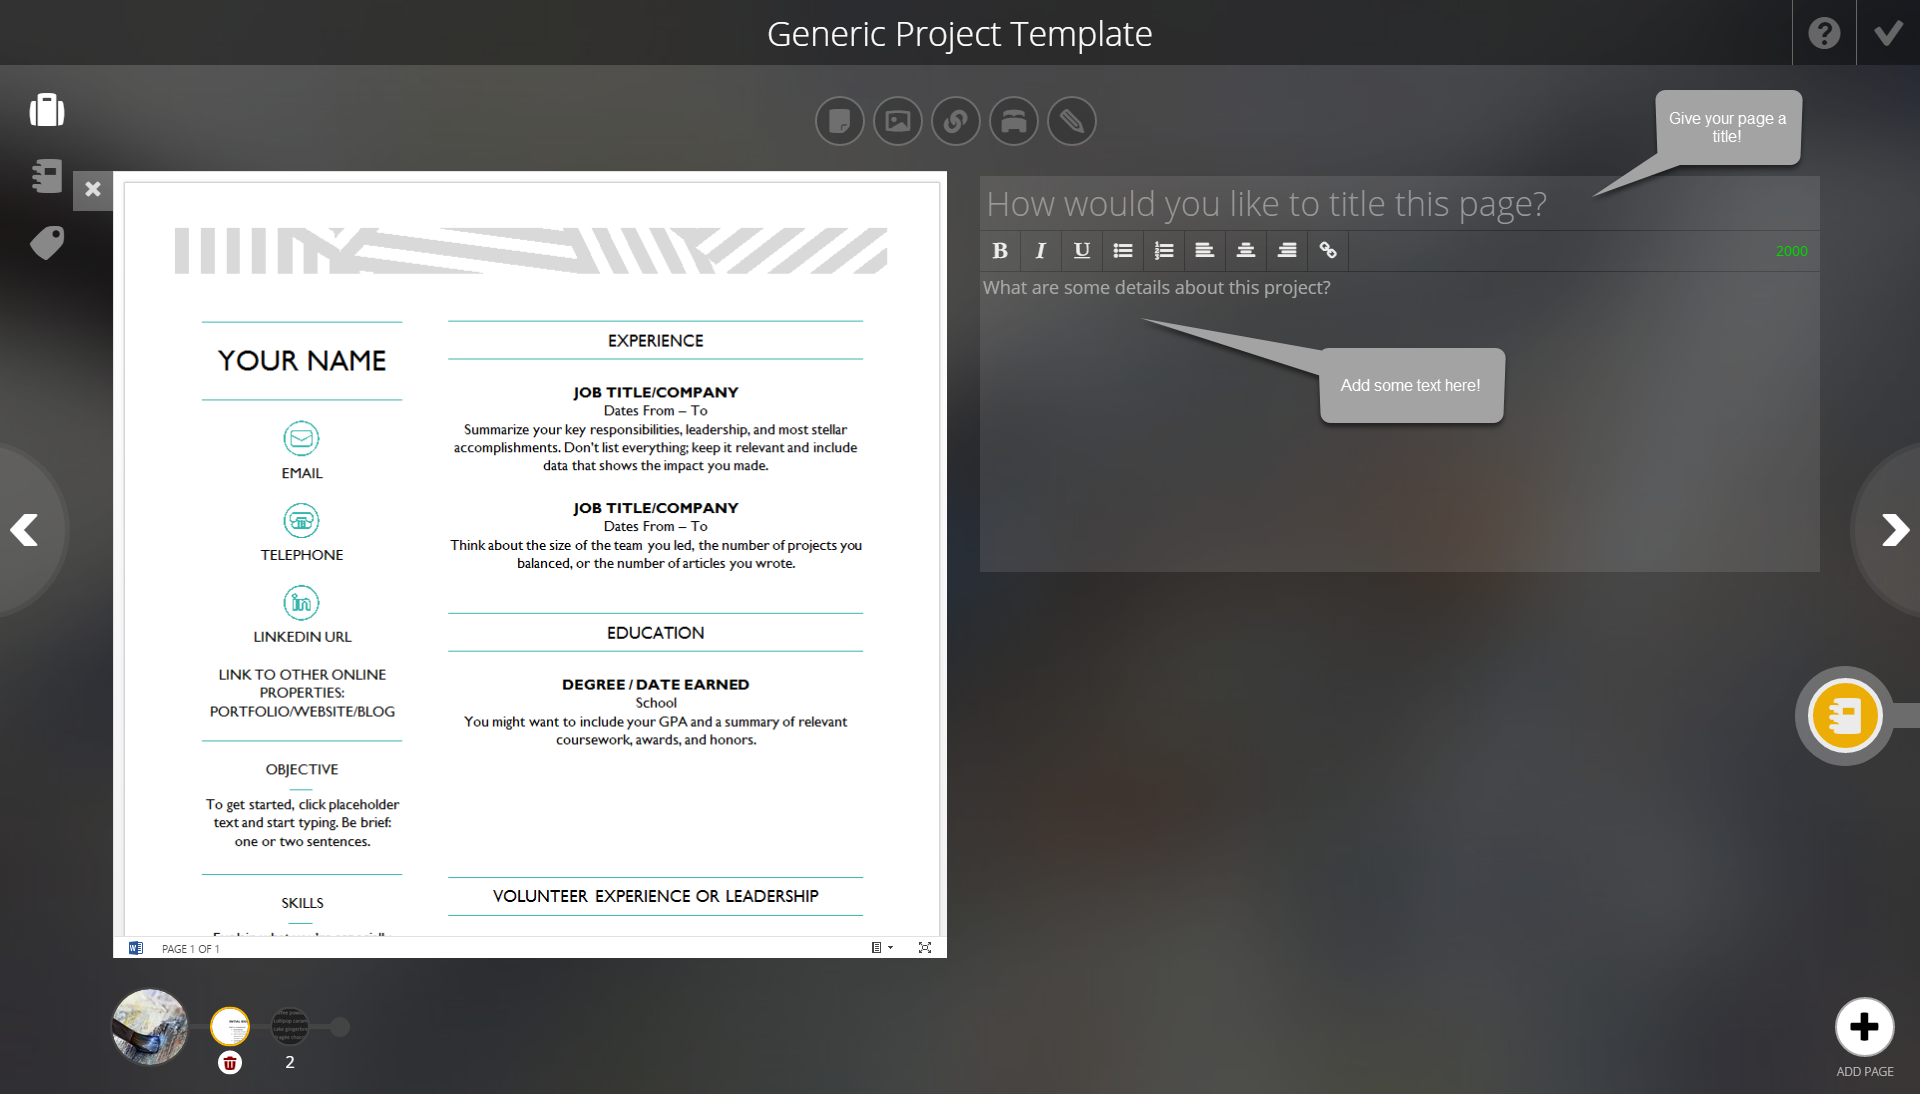
In addition to any file or other content, you can add text to the page by clicking on the Pencil icon. This will give you a page title section and a textbox to explain the importance of this page in relation to your Project. You can do this to any page with files, images, links, and embedded code.
Adding Images
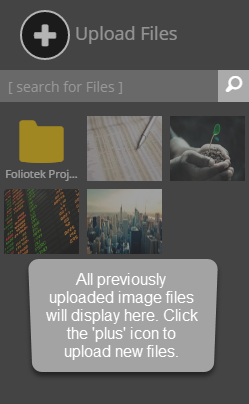
To add an image to a project, choose the Image icon. A sidebar will appear on the left side with any images you have already uploaded. You also have the ability to upload new image files from here as well. Select an image to add it to a page.
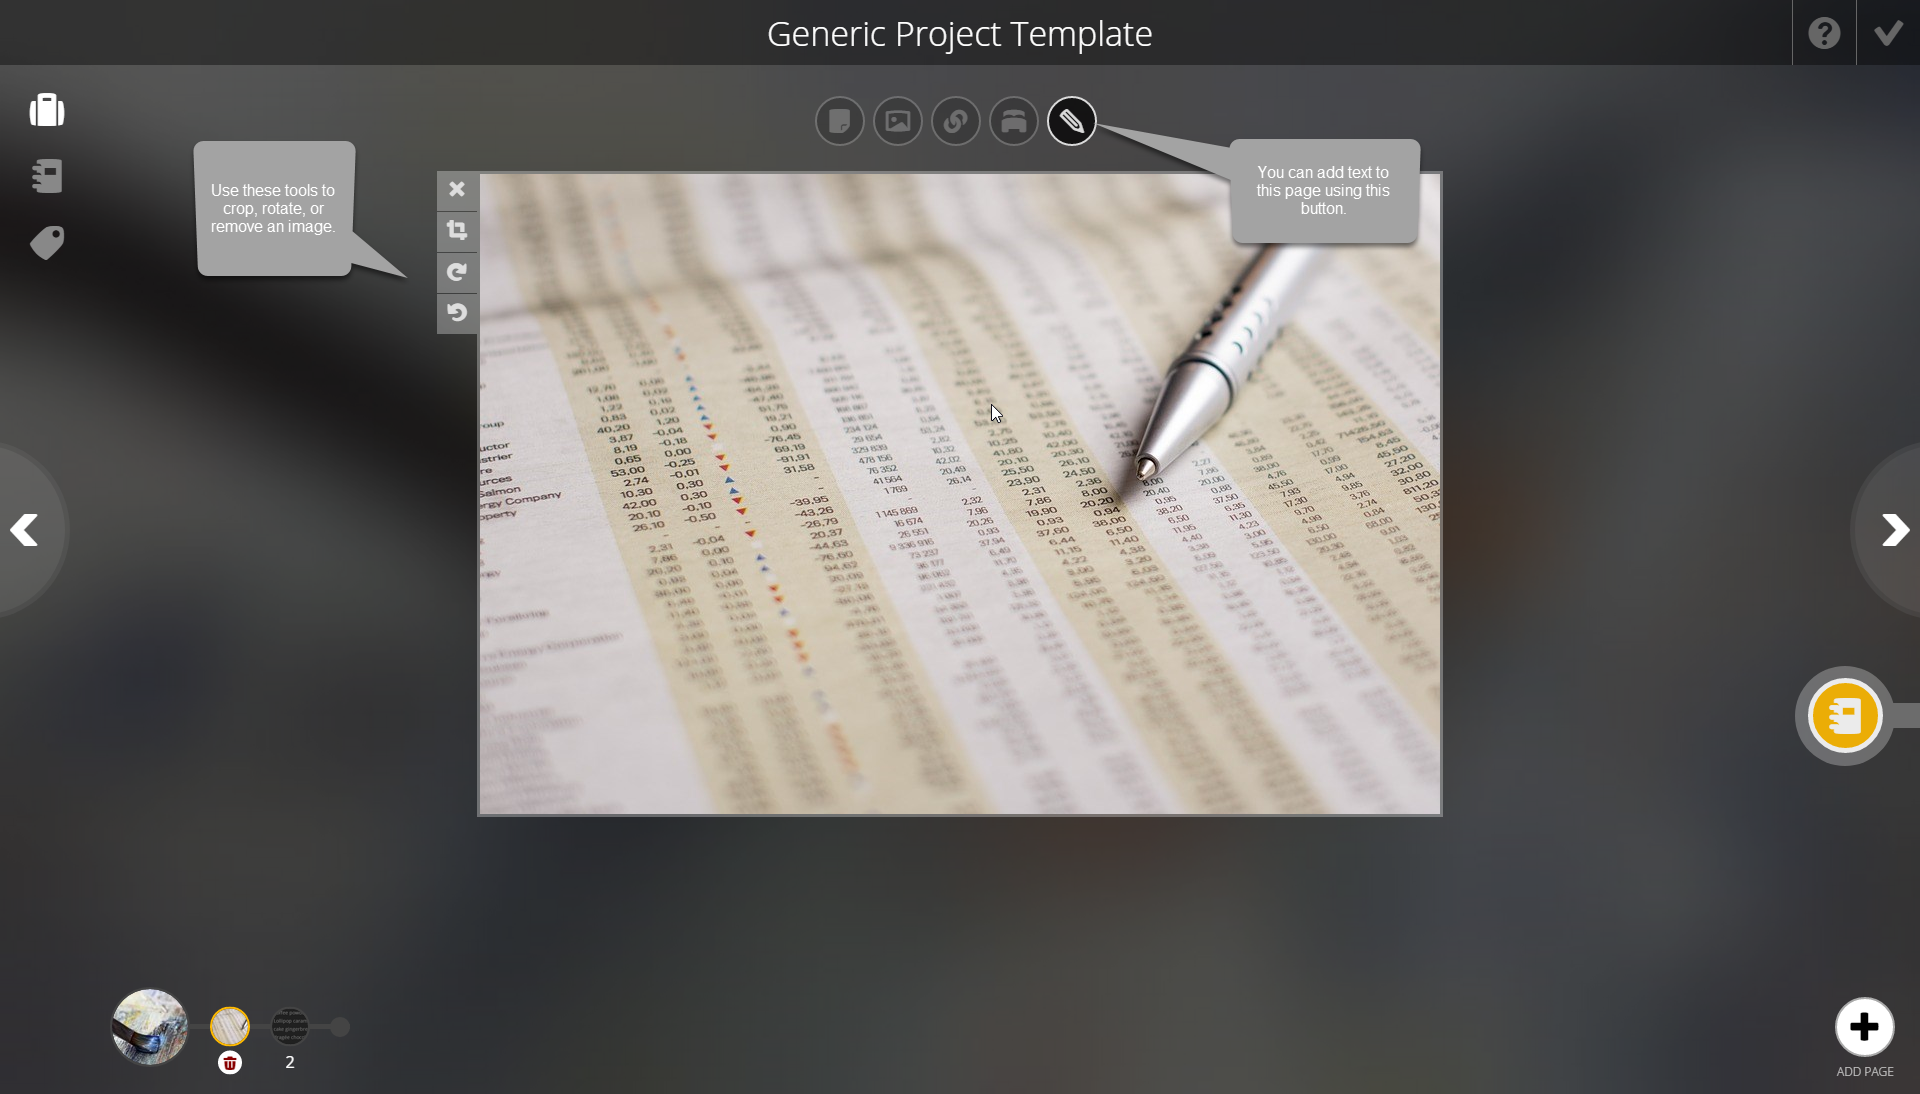
 Once you select an
image, it will appear on your page. On the left, you have the
options to crop and rotate the image. If you want to add text to
accompany this image, use the Pencil icon
above the image to add it.
Once you select an
image, it will appear on your page. On the left, you have the
options to crop and rotate the image. If you want to add text to
accompany this image, use the Pencil icon
above the image to add it.
Adding Links
To add a link to your page, choose the Link icon. From there, you will have a window display that says Add External Resource. Enter your link in this box and then click the checkmark icon.
 After creating your
link, you will see a box appear that says We're Working
Hard... This means that we are taking a picture of the
webpage and will display it shortly. At first, it will look like
the image below.
After creating your
link, you will see a box appear that says We're Working
Hard... This means that we are taking a picture of the
webpage and will display it shortly. At first, it will look like
the image below.
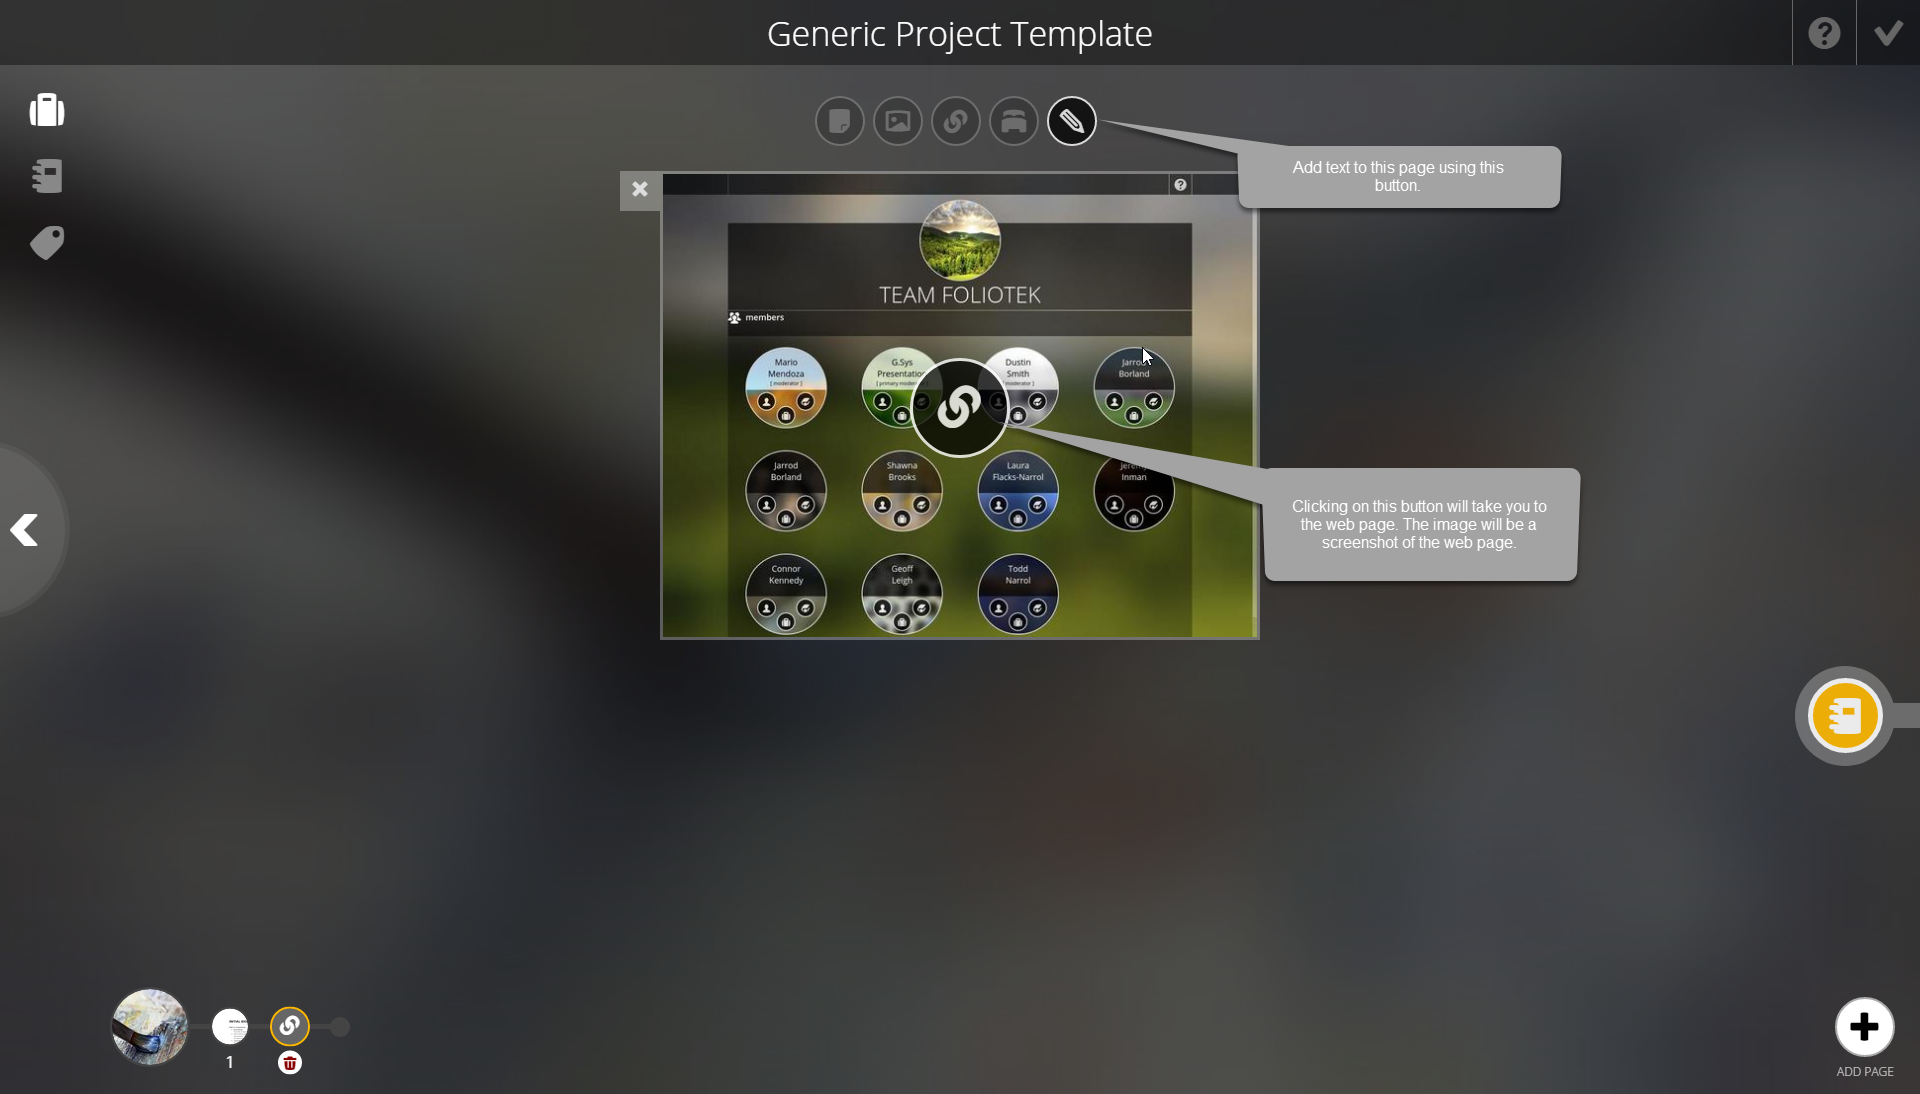
 Users can still
click on the link, but after a few moments, a screenshot of your
link will appear. The screenshot of the website will have a link
button in the middle of it. Users can click on this button to view
the link. You also have the ability to add text to this page by
using the Pencil
icon.
Users can still
click on the link, but after a few moments, a screenshot of your
link will appear. The screenshot of the website will have a link
button in the middle of it. Users can click on this button to view
the link. You also have the ability to add text to this page by
using the Pencil
icon.
Embed Code
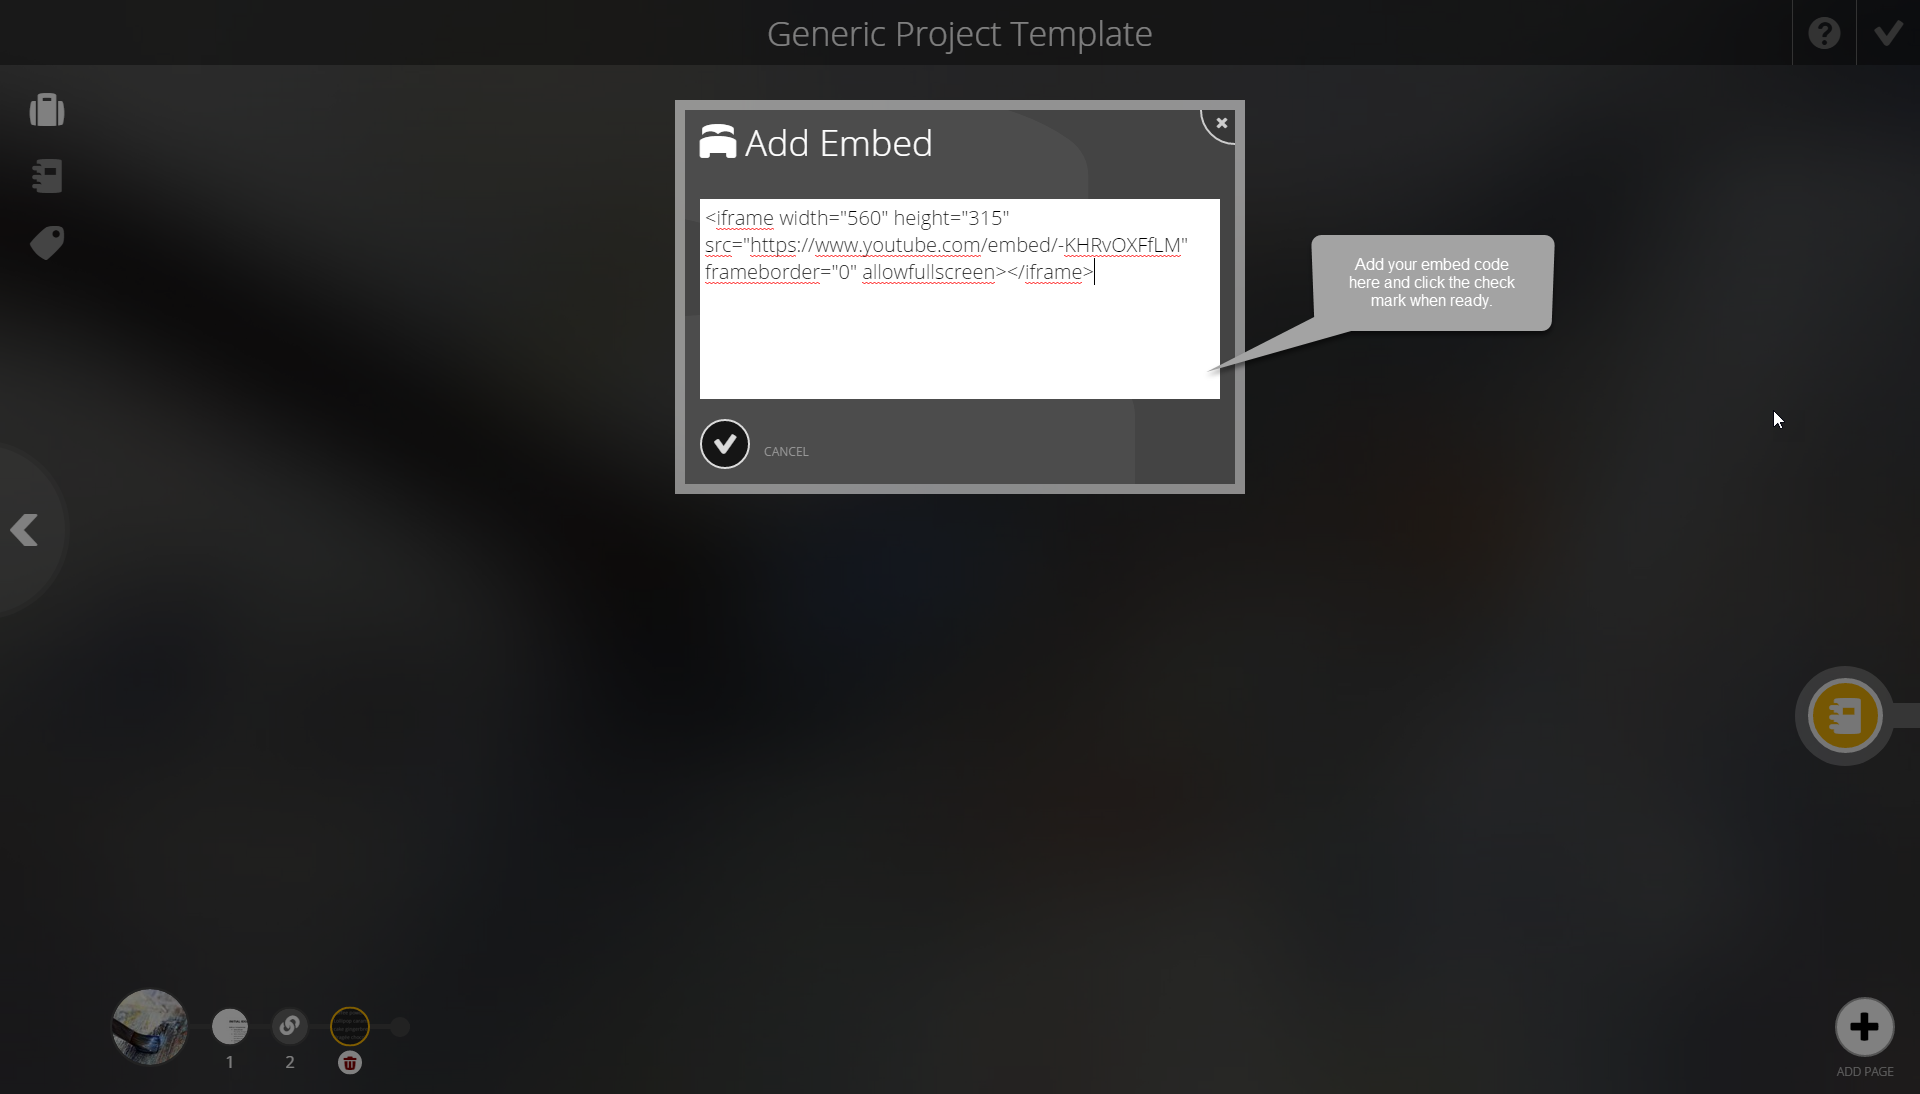
To add embedded code, you will first want to obtain the code. Then, use the Embed icon. Next, a small window will pop up for you to paste the embed code. Once you are done, click the checkmark to add the code.
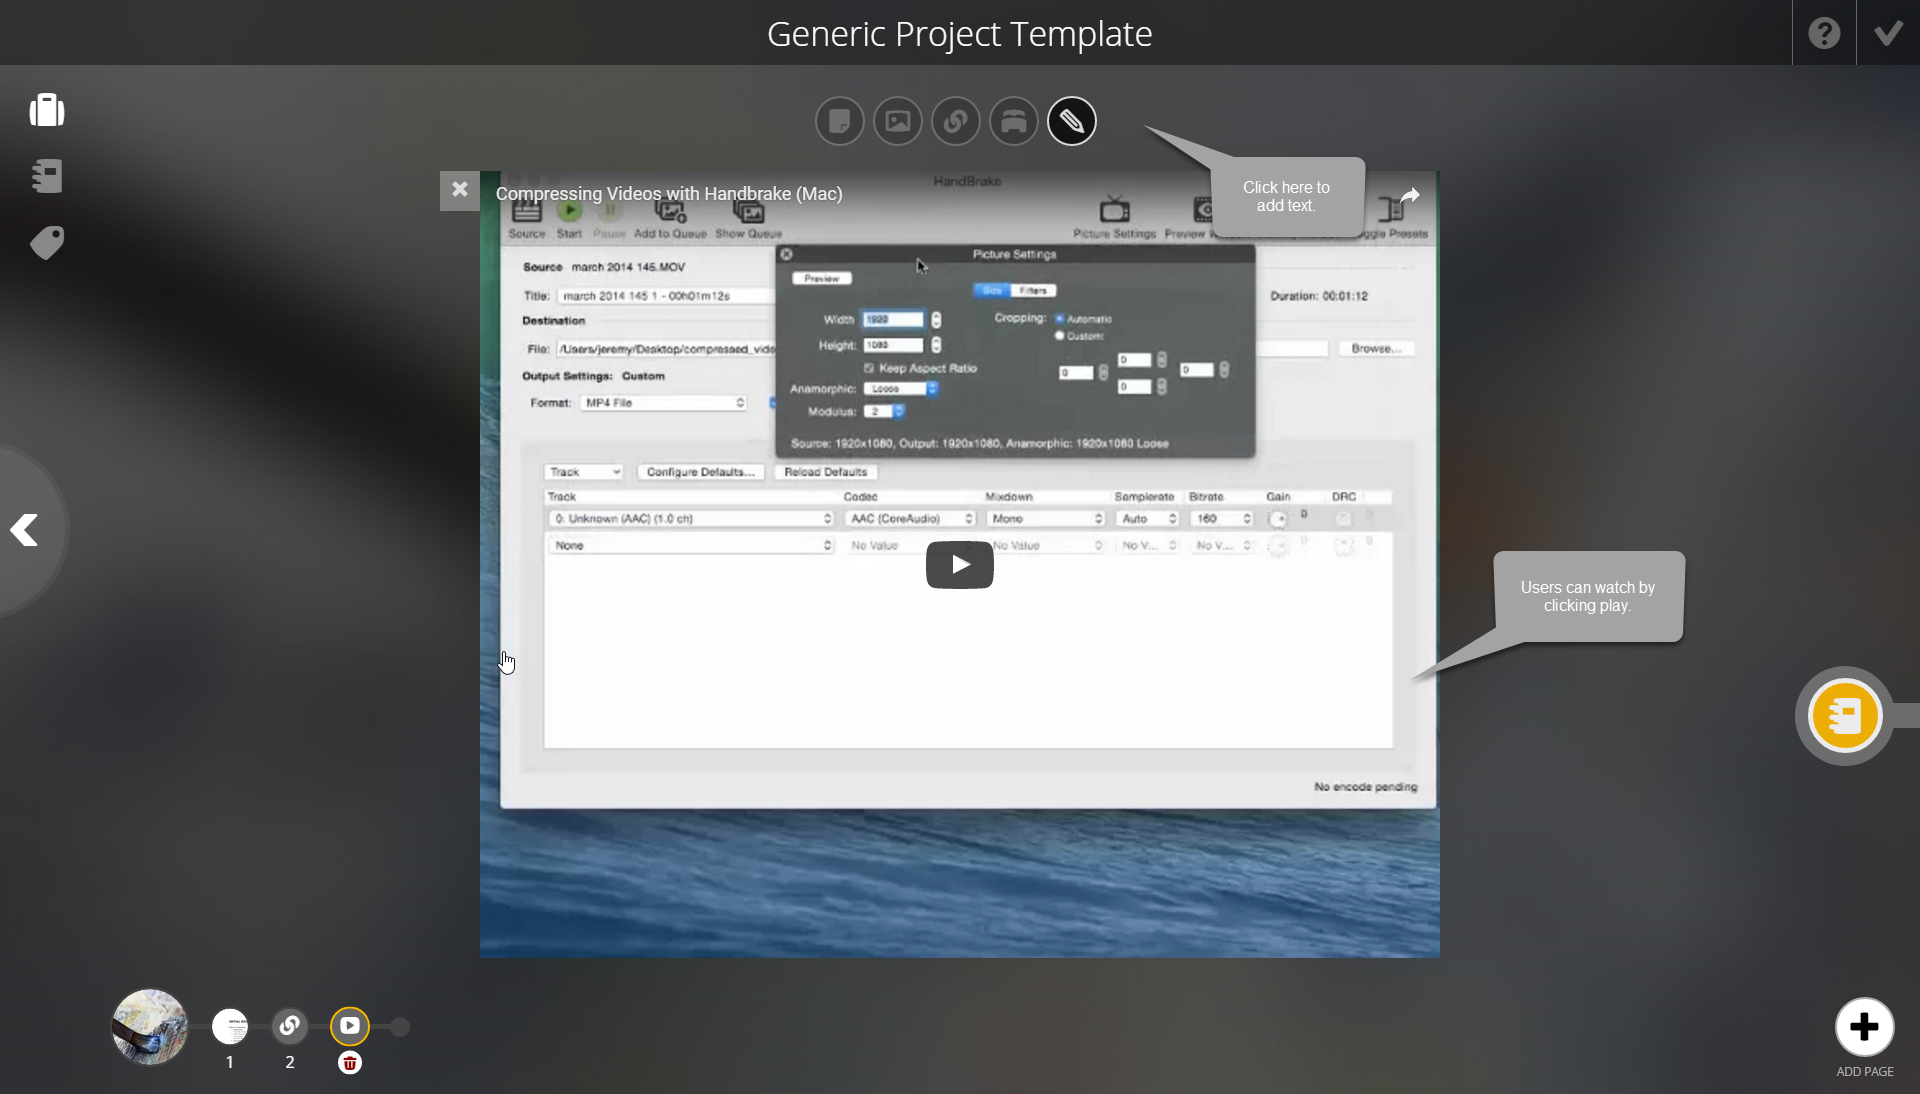
 Once you have successfully added
your embedded code, you will see it appear on the page. In the
example, we embedded one of our Youtube videos. You can add text to
accompany this page using the Pencil icon.
Once you have successfully added
your embedded code, you will see it appear on the page. In the
example, we embedded one of our Youtube videos. You can add text to
accompany this page using the Pencil icon.
Adding Text
You can add text to any page using the Pencil icon. Text can be used to accompany a file, image, link, or embedded code, or it can be used by itself.